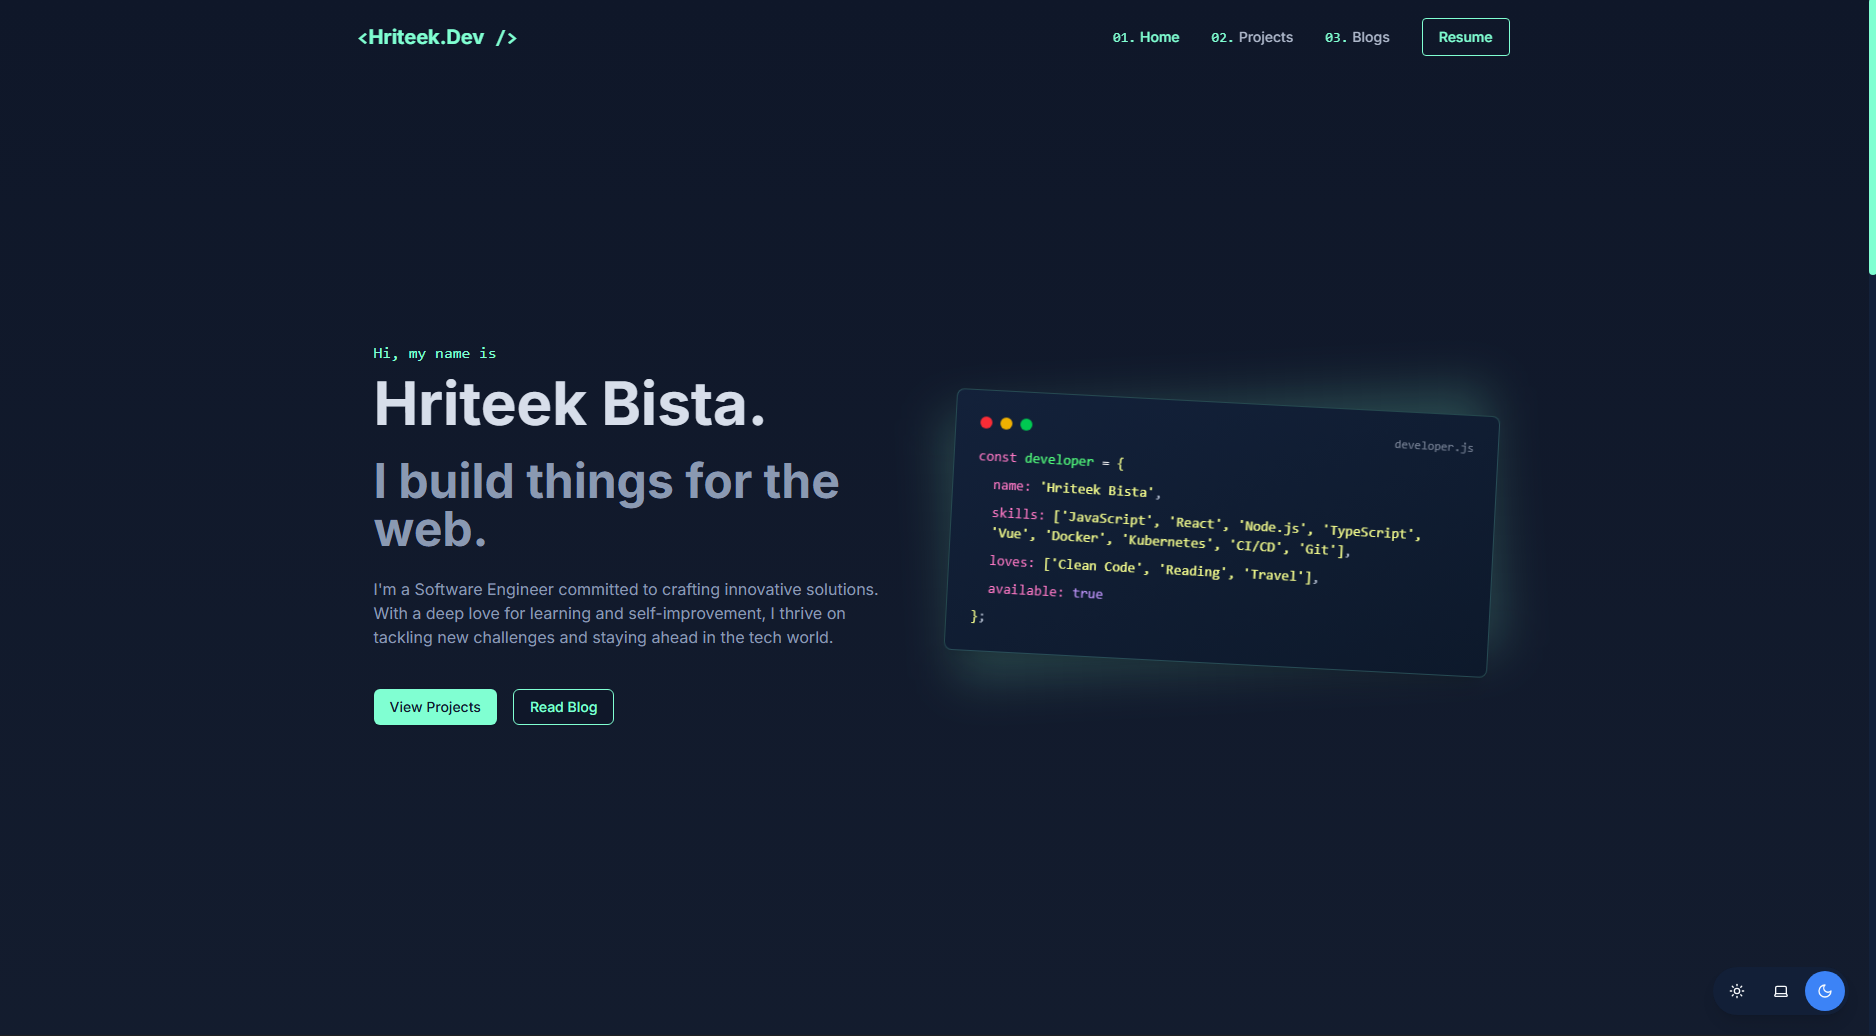
Hi, my name is
Hriteek Bista.
I build things for the web.
I'm a Software Engineer committed to crafting innovative solutions. With a deep love for learning and self-improvement, I thrive on tackling new challenges and staying ahead in the tech world.
Astro Portfolio & Blog
This is my personal portfolio and blog built with Astro - a modern frontend framework that offers incredible performance through its partial hydration approach. The project serves as both a showcase for my work and a platform to share my thoughts through blog posts.
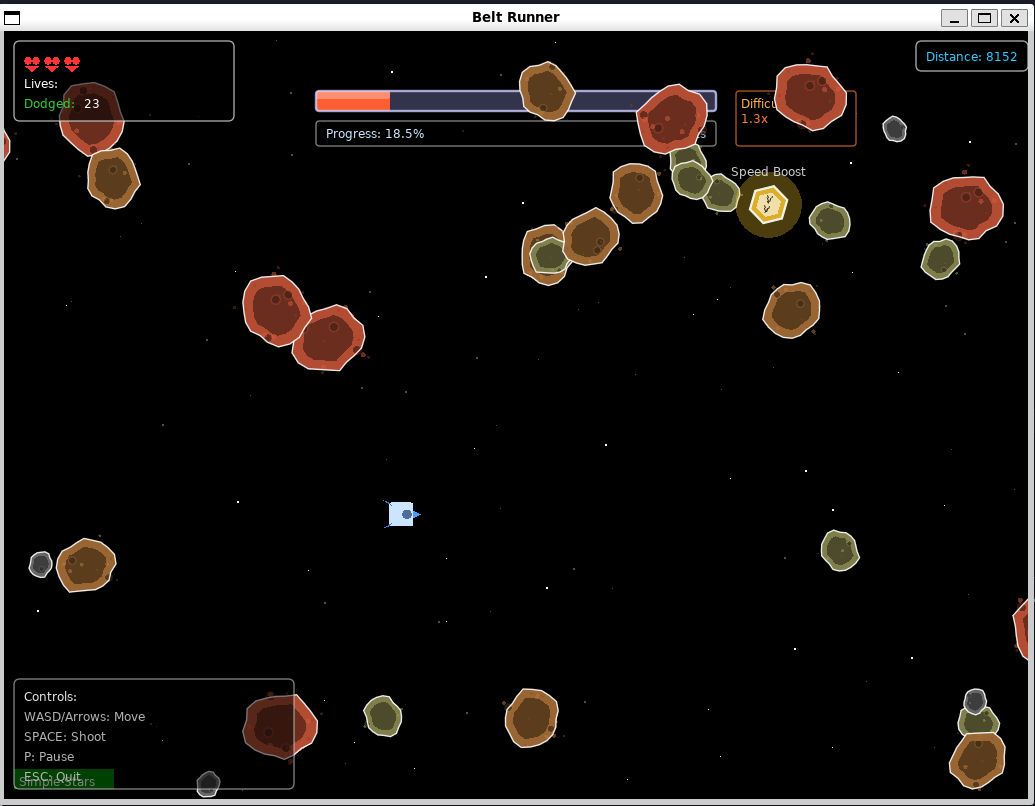
Belt Runner
An exciting asteroid belt navigation game built with Lua and Love2D. Guide your rocket through dangerous asteroid fields, collect power-ups, and survive as long as possible in this fast-paced arcade-style space adventure.

Simple Vim Usage and Examples
Vim is a powerful and highly configurable text editor that is popular among developers and system administrators. In this guide, we will cover the basics of Vim usage and provide some examples to help you get started. ## Step 1: Opening and Closing Vim To open a file in Vim, use the following command: ```bash vim filename ``` To exit Vim: - Press _Esc_ to ensure you are in normal mode. - Type _:q_ and press _Enter_ to quit. - If you have unsaved changes, use _:q!_ to quit without saving. To save changes and exit: ```bash :wq ``` ## Step 2: Basic Modes in Vim Vim has three primary modes: 1. _Normal Mode_: This is the default mode for navigation and commands. 2. _Insert Mode_: Used for editing text. Enter this mode by pressing _i_. 3. _Command Mode_: Used for executing commands like saving or quitting. Enter this mode by typing _:_. ## Step 3: Basic Navigation - _h_: Move left. - _l_: Move right. - _j_: Move down. - _k_: Move up. - _gg_: Go to the beginning of the file. - _G_: Go to the end of the file. - _:n_: Go to line _n_ (e.g., _:10_ to go to line 10). ## Step 4: Editing Text - _i_: Enter insert mode before the cursor. - _a_: Enter insert mode after the cursor. - _o_: Insert a new line below the current line. - _dd_: Delete the current line. - _yy_: Copy (yank) the current line. - _p_: Paste the copied or deleted text. ## Step 5: Searching and Replacing To search for a word: ```bash /<word> ``` Press _n_ to go to the next occurrence and _N_ to go to the previous occurrence. To replace a word: ```bash :%s/old_word/new_word/g ``` ## Step 6: Undo and Redo - _u_: Undo the last change. - _Ctrl + r_: Redo the undone change. ## Examples 1. _Open a file, edit, and save:_ - Open the file: _vim example.txt_ _- Enter insert mode: Press _i_ and edit the text._ - Save and exit: Press _Esc_, then type _:wq_. 2. _Delete multiple lines:_ - Navigate to the first line to delete. - Type _5dd_ to delete the next 5 lines. 3. _Search and replace:_ - Replace all occurrences of "foo" with "bar": _:%s/foo/bar/g_. Vim is a versatile tool, and mastering it can greatly improve your productivity. Practice these commands to get comfortable with Vim!  _The perfect coding environment with Vim for maximum productivity_

How to build multi-architecture docker images with buildx
Today we are going to discuss about how to build docker container images that can be deployed on system with multiple architecture. This has become more important today as the arm architecture has become an important part for developer machine and cloud based servers. ## Multi-Architecture Manifest We can run docker manifest inspect command in popular base images. ```bash docker manifest inspect node ``` ```json { "schemaVersion": 2, "mediaType": "application/vnd.oci.image.index.v1+json", "manifests": [ { "mediaType": "application/vnd.oci.image.manifest.v1+json", "size": 2493, "digest": "sha256:f5d08c5848bcd66a49fd521addedd1e2e6abeef597e3aa51a5c0a6cb340c3906", "platform": { "architecture": "amd64", "os": "linux" } }, { "mediaType": "application/vnd.oci.image.manifest.v1+json", "size": 842, "digest": "sha256:46f0bcbf54d0e99db7fbaf3bff1c675c3e0dc6c4b980ad56cd76fab744e6eab9", "platform": { "architecture": "unknown", "os": "unknown" } }, { "mediaType": "application/vnd.oci.image.manifest.v1+json", "size": 2495, "digest": "sha256:8e0f1215e220f32b76e9426d615e753f4f0340740730e28601fe5da6a1294e14", "platform": { "architecture": "arm", "os": "linux", "variant": "v7" } }, { "mediaType": "application/vnd.oci.image.manifest.v1+json", "size": 842, "digest": "sha256:c9b9457a73b354da6d22992a6504bcf80e5e24a8232e33432b1e2e5a8347f2fe", "platform": { "architecture": "unknown", "os": "unknown" } }, { "mediaType": "application/vnd.oci.image.manifest.v1+json", "size": 2495, "digest": "sha256:c8cefed8be40e9591a39dde995e42b9689fde5acc69e875e89e7f3b259465c45", "platform": { "architecture": "arm64", "os": "linux", "variant": "v8" } }, { "mediaType": "application/vnd.oci.image.manifest.v1+json", "size": 842, "digest": "sha256:1f00bbf6b1eb4d69ea2d815d348e2c1dd4d2e2e402ec0f4f9f8106c293e69f4a", "platform": { "architecture": "unknown", "os": "unknown" } }, { "mediaType": "application/vnd.oci.image.manifest.v1+json", "size": 2495, "digest": "sha256:238c31eca8cc1ccbbef8454fe8e22f8bd9c22a43c90ed8da46da634f6ff5c6cd", "platform": { "architecture": "ppc64le", "os": "linux" } }, { "mediaType": "application/vnd.oci.image.manifest.v1+json", "size": 842, "digest": "sha256:225513e43ce579a0b791ebe853f49af0f27636bda44b96c5d6df2ed8d2ad0383", "platform": { "architecture": "unknown", "os": "unknown" } }, { "mediaType": "application/vnd.oci.image.manifest.v1+json", "size": 2493, "digest": "sha256:8b775a10deff367e2b66ec5ede9a6469f066a66bd52d5730f8e28cb8e20a8af8", "platform": { "architecture": "s390x", "os": "linux" } }, { "mediaType": "application/vnd.oci.image.manifest.v1+json", "size": 842, "digest": "sha256:7af00e6e0851adae35743ab7dd613e93159cffe8fafcb2c41315869781a48f3e", "platform": { "architecture": "unknown", "os": "unknown" } } ] } ``` Here the manifest output contains 3 separate manifest in manifest array each with different architecture. Most official docker images support multiple architecture. There are two ways of building these multi architecture docker images ## The old way You have to had system natively running architecture that you want to target. And you run the build command with separate docker file on those machine ```bash docker build \ -f Dockerfile.x86 \ -t test-image:linux-x89 \ . ``` ```bash docker build \ -f Dockerfile.arm \ -t test-image:linux-arm \ . ``` Once they are build you can create a combine manifest ```bash docker mainifest create test-image:tag \ test-image:linux-x86 \ test-image:linux-arm64 ``` And this manifest is pushed to docker registry along with the images ```bash docker manifest push test-image:tag ``` ## Docker Buildx Buildx does number of things to build multi-architecture docker images. - Treat native build nodes as build farm to build in parallel - Using a single node with QEMU to emulate multiple architecture We are going to focus on the second way, as it allows me to build multi-architecture docker images with one architecture machine. I have a x86 intel machine. Now lets start building the multiple architecture docker image - Lets login using the command below ```bash docker login ``` - You can list the buildx in the system with command ```bash docker buildx ls ``` - Now lets create a new buildx for the demo ```bash docker buildx create --name testbuilder ``` - Now lets docker to use this new buildx ```bash docker buildx use testbuilder ``` - Finally inspect the builder so make sure it works properly ```bash docker buildx inspect testbuilder --bootstrap ``` - Now let build the docker images ```bash docker buildx build \ --platform linux/amd64,linux/arm64,linux/arm/v7 \ -t docker_hub_user_name/image_name:image_tag \ --push \ . ``` - Now you can use this docker images and it should pull the appropriate architecture for the machine that you are using  *Celebrating successful multi-architecture Docker builds! 🎉*

How to create a Node.js app with pnpm and Bitbucket pipeline
In this guide, we will create a simple Node.js application using _pnpm_ and an Express server. We will then set up a Bitbucket pipeline to build a Docker image for the application and push it to Docker Hub. ## Step 1: Initialize the Node.js Application First, create a new directory for your project and initialize it with _pnpm_: ```bash mkdir sample-node-app cd sample-node-app pnpm init ``` Install Express as a dependency: ```bash pnpm add express ``` ## Step 2: Create the Express Server Create a file named _index.js_ and add the following code: ```javascript // filepath: /path/to/sample-node-app/index.js const express = require('express'); const app = express(); const PORT = process.env.PORT || 3000; app.get('/', (req, res) => { res.send('Hello, World!'); }); app.listen(PORT, () => { console.log(`Server is running on port ${PORT}`); }); ``` ## Step 3: Create a Dockerfile Add a _Dockerfile_ to containerize the application: ```dockerfile # filepath: /path/to/sample-node-app/Dockerfile FROM node:16-alpine WORKDIR /app COPY package.json pnpm-lock.yaml ./ RUN npm install -g pnpm && pnpm install --prod COPY . . EXPOSE 3000 CMD ["node", "index.js"] ``` ## Step 4: Set Up Bitbucket Pipeline Create a _bitbucket-pipelines.yml_ file to define the pipeline: ```yaml # filepath: /path/to/sample-node-app/bitbucket-pipelines.yml image: node:16 pipelines: default: - step: name: Build and Push Docker Image services: - docker script: - export IMAGE_NAME=docker_hub_user_name/sample-node-app:latest - docker build -t $IMAGE_NAME . - echo "$DOCKER_HUB_PASSWORD" | docker login -u "$DOCKER_HUB_USERNAME" --password-stdin - docker push $IMAGE_NAME definitions: services: docker: memory: 1024 ``` ## Step 5: Configure Environment Variables In your Bitbucket repository settings, add the following environment variables: - _DOCKER_HUB_USERNAME_: Your Docker Hub username. - _DOCKER_HUB_PASSWORD_: Your Docker Hub password. ## Step 6: Run the Pipeline Commit your changes and push them to your Bitbucket repository. The pipeline will automatically build the Docker image and push it to Docker Hub. Now you have a fully functional Node.js application with a Bitbucket pipeline to automate Docker image creation and deployment!  *Setting up the perfect development environment for your Node.js projects*
04. What's Next?
Get In Touch
I'm currently looking for new opportunities. Whether you have a question or just want to say hi, I'll do my best to get back to you!
Say Hello